Set Up WordPress on Windows
A few years ago, I contracted for two companies that built websites. One created websites for external clients and the other for internal departments. Both companies used WordPress so I spent the majority of my time building themes and custom plugins. I played around with a few solutions so I could run a development instance of WordPress on my Windows machine - the solutions were called WAMP which stands for Windows Apache, MySQL, and PHP.
After using them for a bit, I decided to create my own so I could learn about each of the components. It was definitely a beneficial experience because I’m now very comfortable working with the configuration files in Apache, MySQL, and PHP.
All the code and releases are available on GitHub: https://github.com/josephspurrier/surfstack-wamp
This tutorial is better suited for those that want to set up a development instance of WordPress as opposed to a production instance. I recommend running a production WordPress instance through IIS if you are on the Microsoft platform.
Set Up Apache, MySQL, and PHP
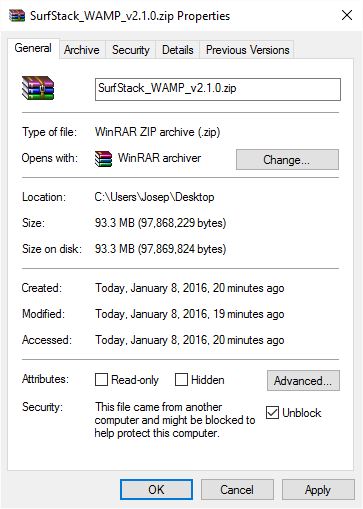
First, let’s download the latest release zip file of SurfStack Wamp. Save it to your desktop. Right-click on the zip file -> Click Properties. Place a checkmark in the box that says Unblock and click OK. Windows does this by default to all the files you download from the internet. Now you won’t get warned every time you try to start the application.
Right click on the zip file and click Extract All. On the next dialog window, click Extract. It will take about 30 seconds to extract all the files to a new folder on your desktop. Once the extract process is completed, the folder should open.
Double click on SSWamp.exe in the folder. Place a checkmark next to Apache and MySQL. Click Turn On. This starts Apache and MySQL.
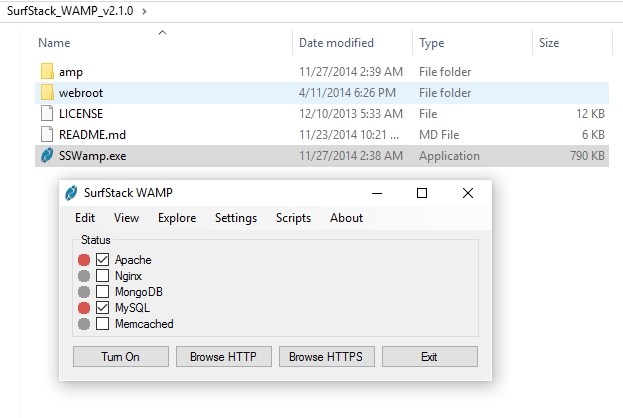
Click Browse HTTP to view the default webpage. You should see a webpage that looks like the screenshot below. If you don’t, make sure there are green icons next to Apache and MySQL. If either one is red, that means that another service is using the port. You may want to try to close other applications like Skype if you experience problems starting Apache.
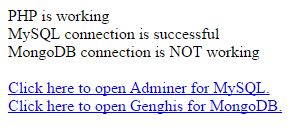
At this point, you have a working Apache web server, MySQL Database, and PHP interpreter. There is no option for PHP because it’s set up to use Apache by default. I’ve already configured these components to work together nicely so let’s download WordPress and get it set up.
Set Up WordPress
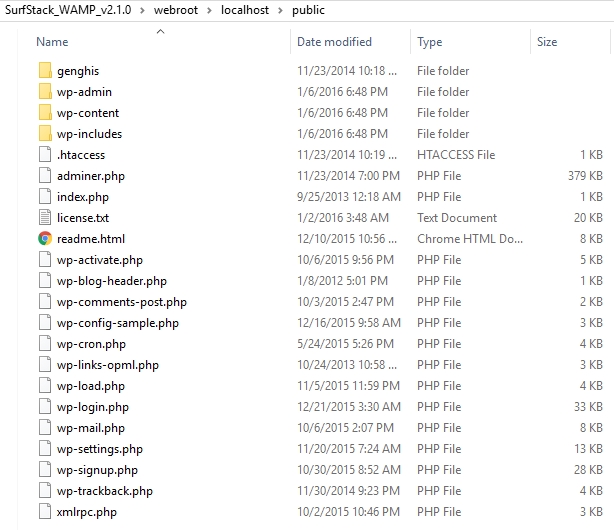
Go to the Download WordPress webpage. Download the latest version of WordPress and save it to your desktop. Extract the files to your desktop using the same process as before. Once the WordPress files are extracted, double click on the wordpress folder so you see the files below.
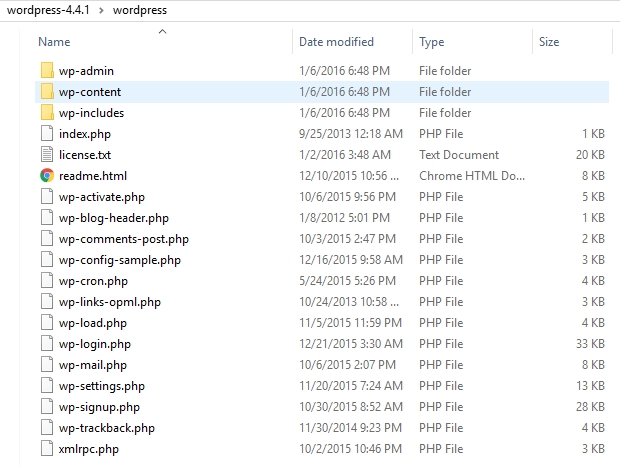
Move all the WordPress files to the WAMP folder in this location: SurfStack_WAMP_v2.1.0\webroot\localhost\public. Overwrite all files if Windows asks. Your folder should now look like this:
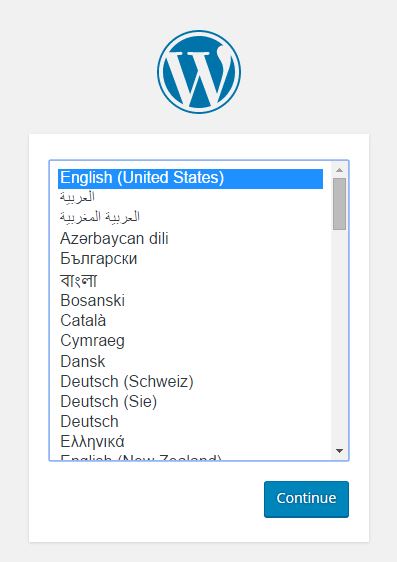
Open your browser to http://localhost or click Browse HTTP in SSWamp.exe. You should see the initial WordPress screen. If you did not, you may have missed a step along the way. Select your language and click Continue.
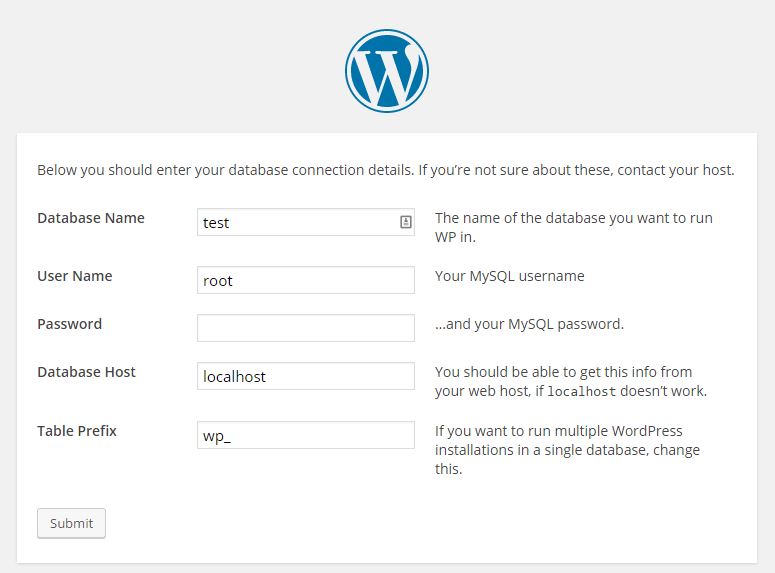
On the following screen, click Let’s go!. You should see a screen asking for database connection details. Change the Database Name to: test. Change the User Name to: root. Remove the password. All the fields should match the screenshot below. Click Submit.
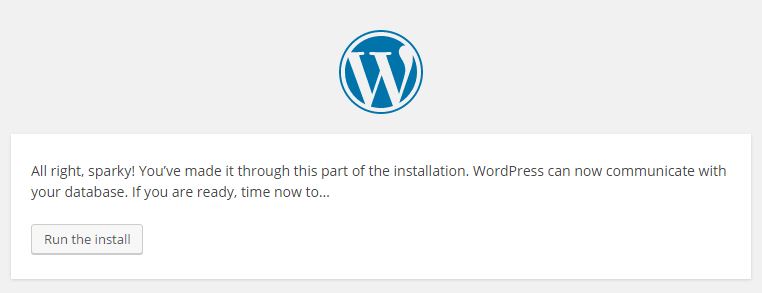
You should see the following screen which means WordPress can connect to the database. Click Run the install.
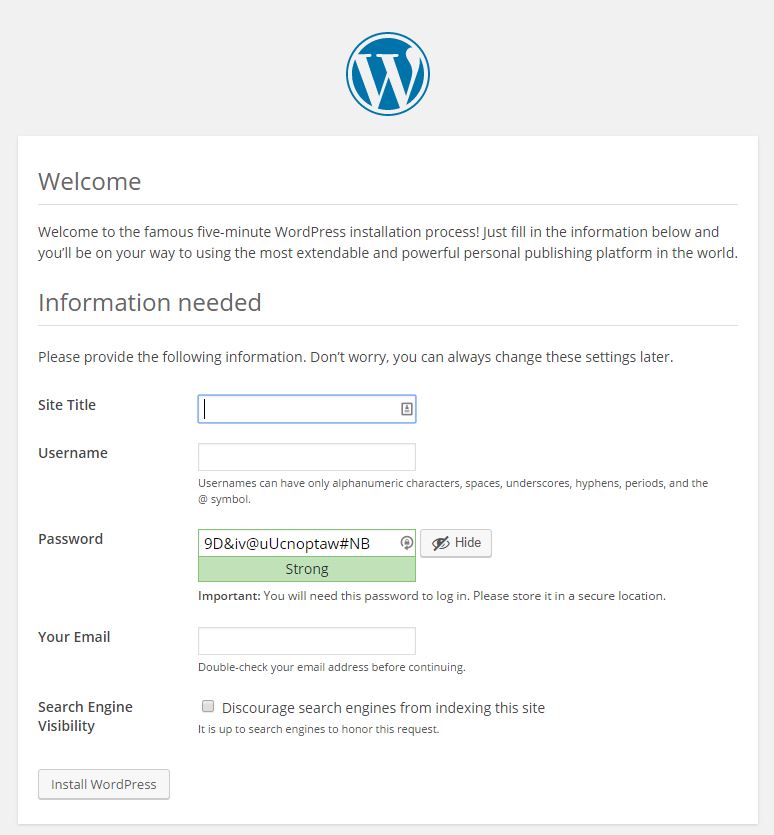
The WordPress Welcome screen allows you to add a site title, username, password, and email. Fill in all the information with values that you choose. The email field will not work properly unless you configure mail settings in PHP. That is outside the scope of this tutorial. When you are done, click Install WordPress.
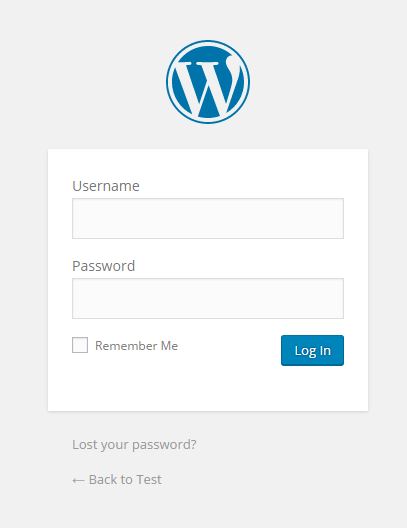
You should see the WordPress Success screen. Click Log In. Type in the username and password you created a few screens ago and click Log In again.
Once you are logged in, you will see the WordPress Admin Dashboard.
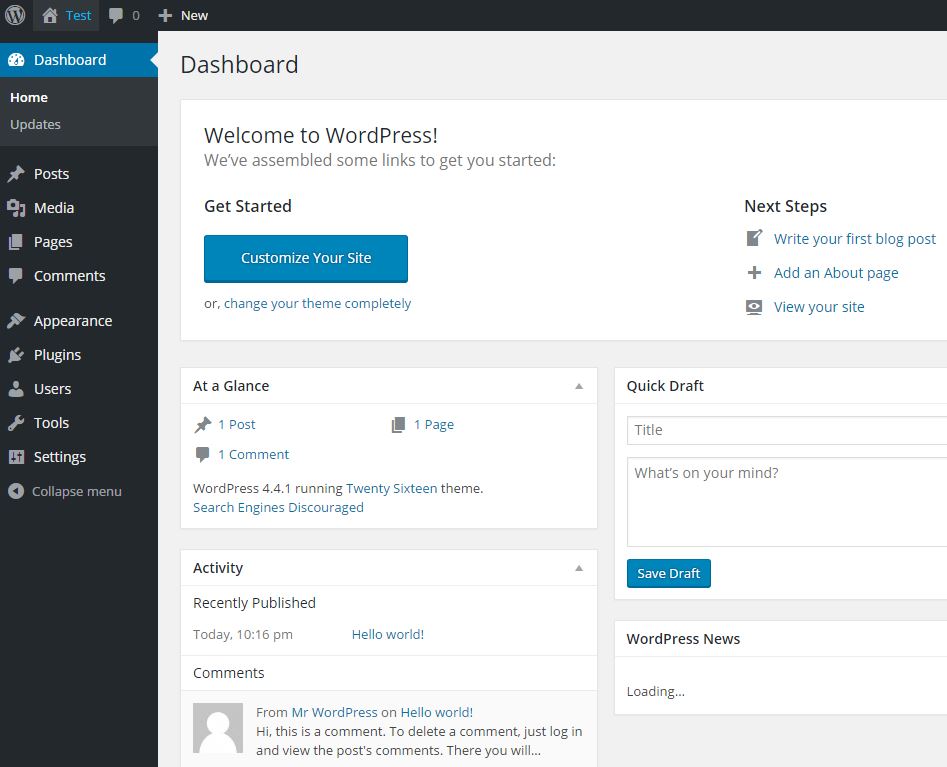
Your set up of WordPress is now complete!
You can access your WordPress website at: http://localhost
You can login to your WordPress Admin Login at: http://localhost/wp-admin